
Take Your iPhone Photography to the Next Level with These Tips and Tools
Posted by Alisia Gonzalez on 1st Jun 2017
As photographers, we love the beautiful images that our dedicated DSLR or Mirrorless camera captures, but many times miss out on great shots simply because we don’t have them with us. Well, you know what they say, “The best camera is the one
you have with you.” Check out our step-by-step guide on iPhone exposure with some great tips, tools and hidden hacks of the iPhone camera that will be sure
to boost up your iPhoneography game.
The "Recipe" for a great iPhone Image
Rule of Thirds
The first tip to taking better iPhone photos is to
utilize the rule of thirds by using the camera’s grid. If you are unfamiliar
with the rule of thirds, it is the idea that an off-center composition is more appealing
to the eye, rather than sticking the subject in the middle of the shot. This is
done by placing your subject at the intersecting points on the camera's grid. If your grid is not already turned on, you can do it by simply going into
your iPhone settings under “photos & camera.” You can see in this example
how I framed the "Nikon" logo in the intersection of the top left corner.

Now that you have your image composed, we need to expose
correctly. Most of the time the iPhone does a pretty good job for you, but to
gain some more control you can use the Exposure control and the AF/AE lock.
Exposure Control
For the exposure control, simply focus on your subject by
tapping on the screen, from there you can press and move up or down with your
finger to raise and lower the exposure making the picture brighter or darker.

Auto Focus/Auto Exposure Lock
The AF/AE lock is also a great tool to use. Especially when
shooting an image that has moving parts in the background. Sometimes when focusing an image, the iPhone will see a moving subject and try to focus on that, even
though that’s not what you want. To control this, press down and hold until you
see the “AF/AE Lock” icon appear. This will lock the focus and exposure into place
so you can photograph your subject without having to worry about the iPhone
switching exposure or focus against your will.

Take the Photo!
Now that you have composed and exposed the perfect shot, its
time to take the photo! Believe it or not, there are a few ways of taking an
image besides the shutter button at the bottom of your screen. The first option
is to use the self-timer mode, you can choose from a 3s or 10s exposure. This
mode is great if you are using a selfie stick or setting up on a tripod, and
you can find the option at the top of your cameras screen. The second option is
using the volume buttons on your iPhone or headphones to snap the shot.
Tools to "Kick it up a Notch"
Now that you have mastered the tips to take great iPhone photos, why not add in a few tools to take you a step further?
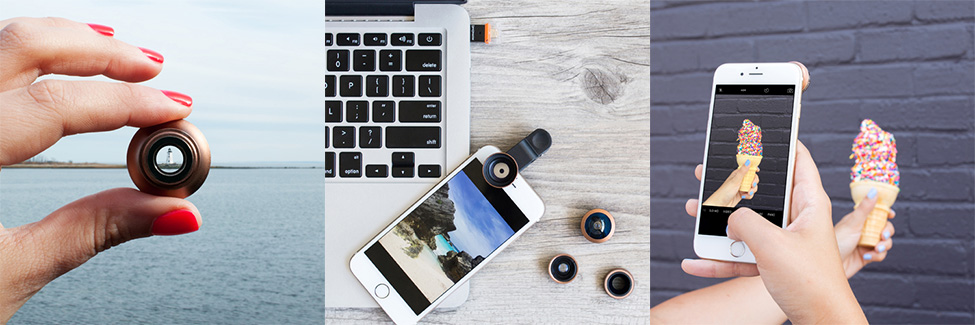
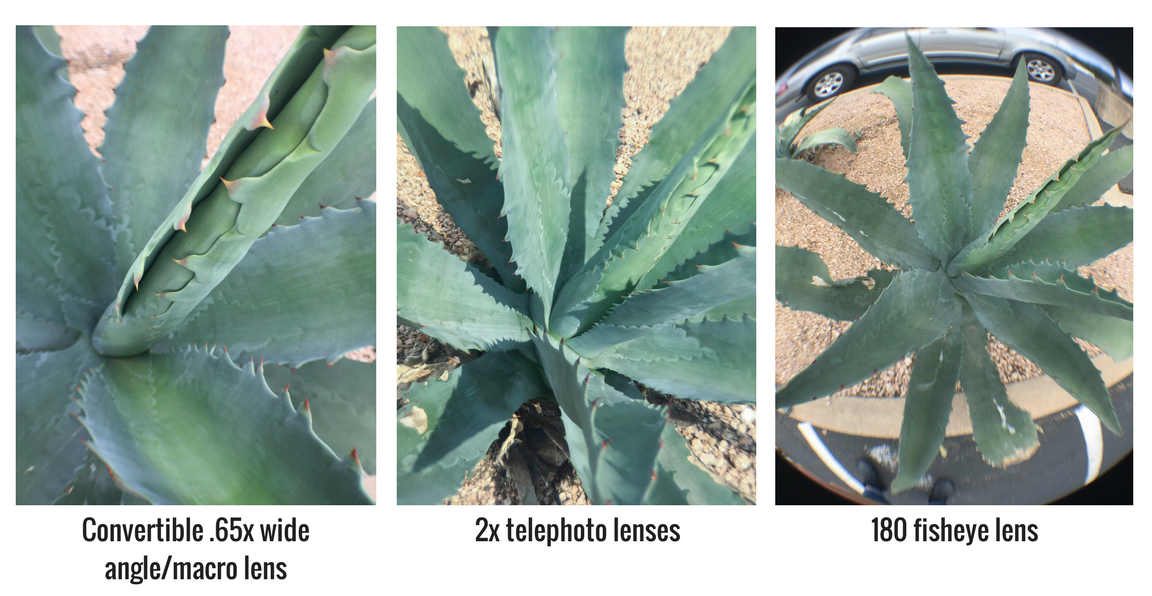
iPhone lenses are a really great way to get add some flavor to your shots. The Promaster Lens Kit offers awesome iPhone lenses such as fisheye, macro and wide angle. Here is an example showing how each lens effects the iPhone camera.
If you are more of a selfie person, or just like having your iPhone in a stable position, a tripod would be great for you. There are a couple of different options to choose from.
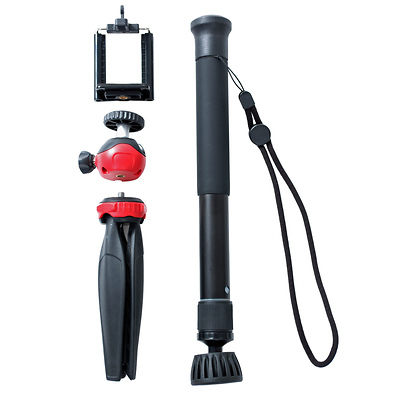
To start, the Promaster Selfie Stick is great and way to take images of yourself. It is super portable and easy to use. Just attach your iPhone, set the timer and have fun!
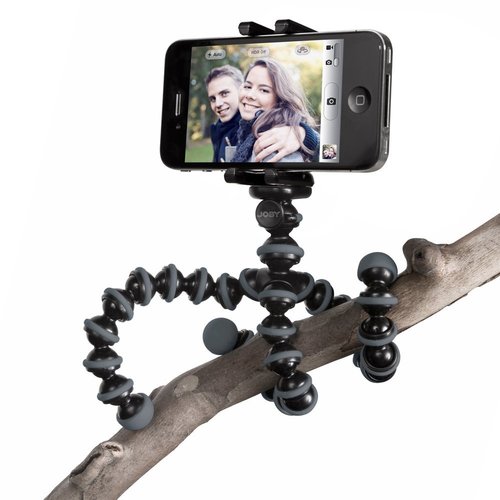
The Joby Grip Tight Gorilla Pod Stand is a great option for the outdoors shooter, you can practically bend or wrap this tripod anyway you please to keep your iPhone stable.
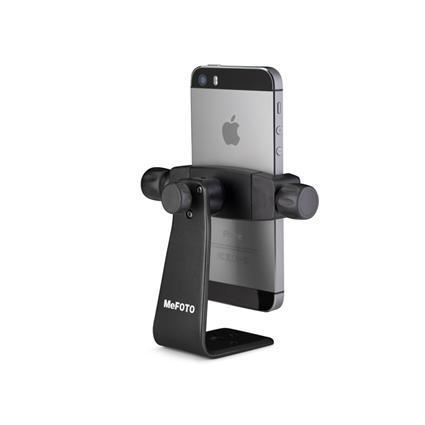
If you already have a professional tripod, and would like an iPhone mount, the Mefoto Side Kick 360 is for you!
If you are looking for the full setup, the DLC Photographers Field Kit has many different variations to mount your iPhone — so no matter the situation, you can get the shot.
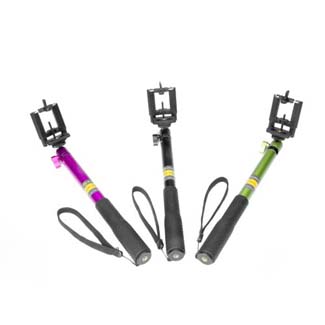
Promaster Selfie Stick Joby Grip Tight GorillaPod Stand Mefoto Side Kick 360 DLC Photographers Field Kit
If you are looking to add a bit of spice to your images or shoot some night photography, the Lume Cube might be your new best friend. This small cube packs a powerful light that you can easily control from an app on your phone to create the perfect exposure or add some drama to your shot. How awesome is that!?
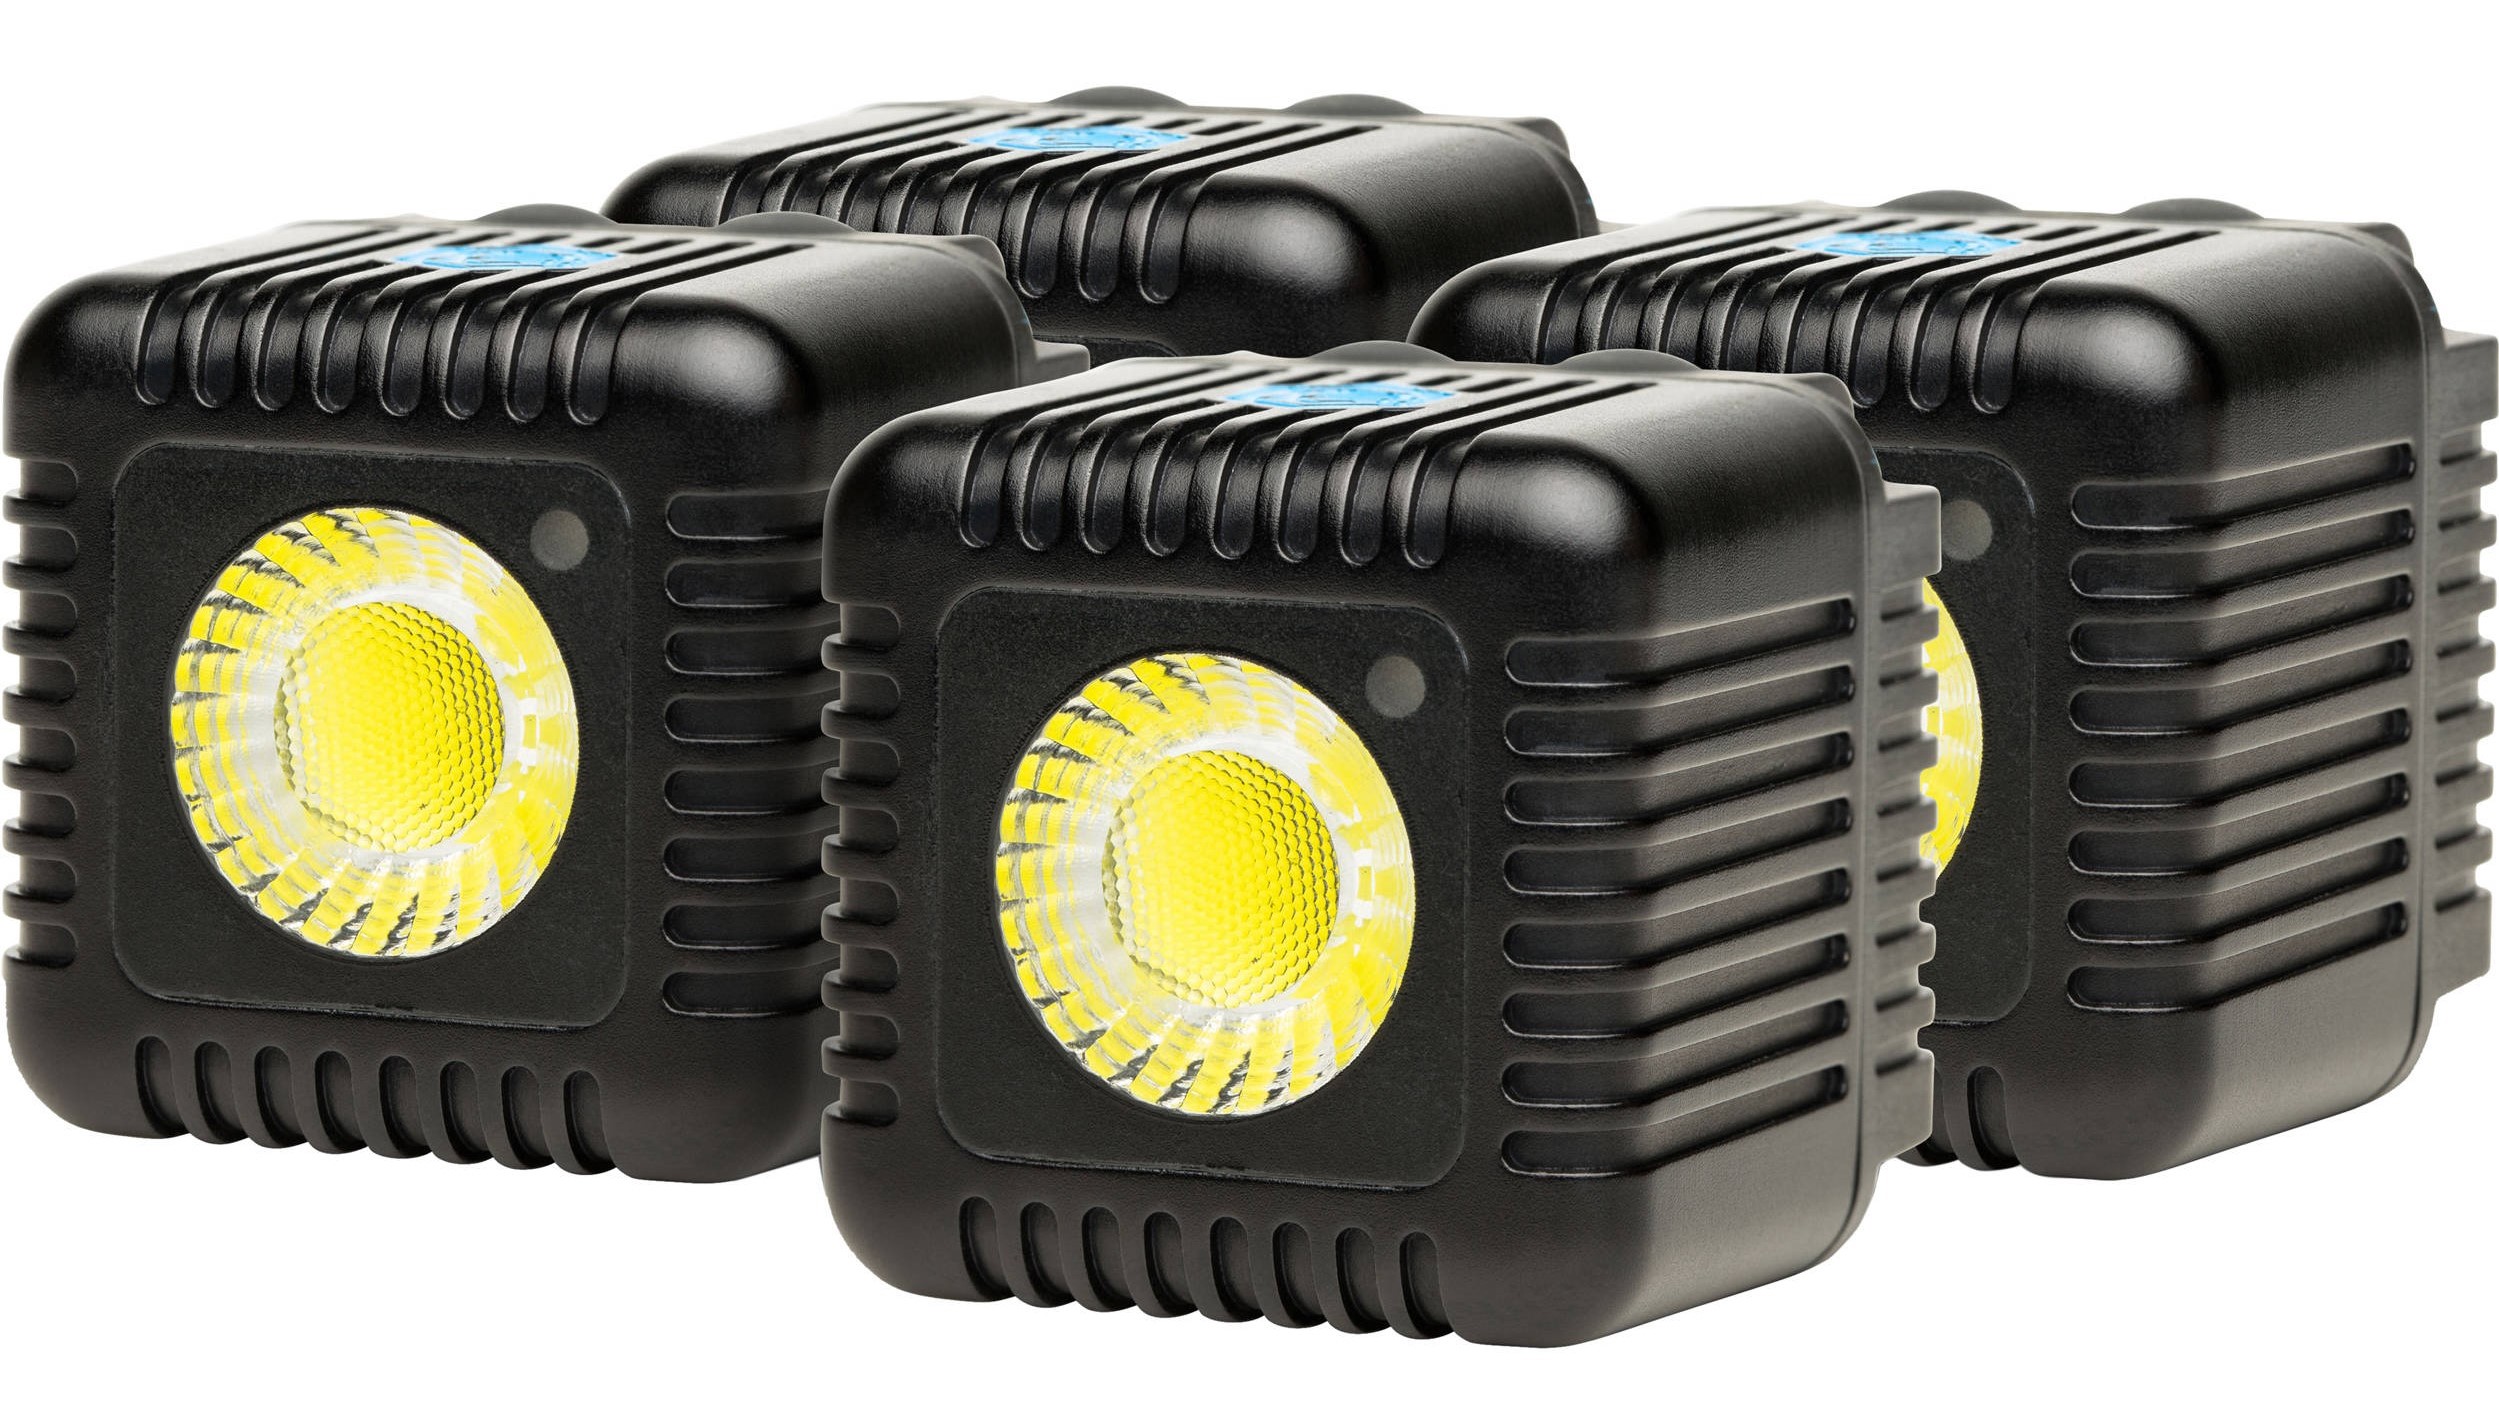
Image Source: Lume Cube
Now that you have all the ingredients you need to get really creative, feel free to experiment with different setups and combinations to take your "recipes" to the next level... like Emeril!

Image Source: Giphy
More resources here.